

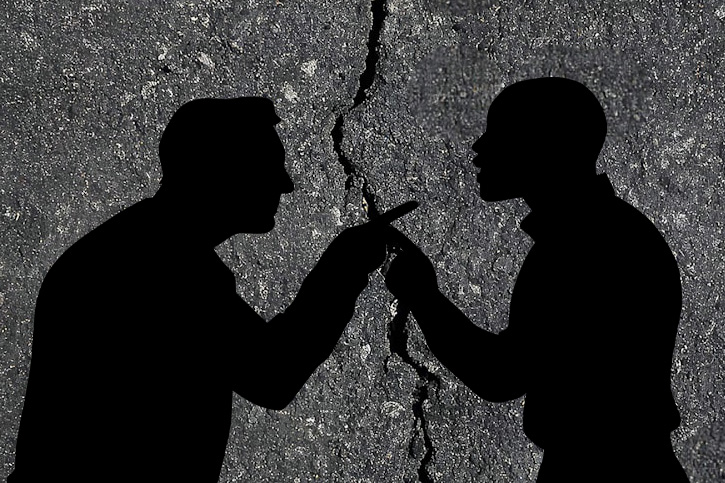
WARNING: This Blog gets a bit technical
There are 2 main file formats when it comes to photography. They are jpeg, which shrink (compress) the size of your files and and remove what the processor thinks is unneeded data. It keeps what it thinks is the best information to make the photo look good. This makes it easy for sharing your photos via phone or email, or on Social Media. However once it has compressed the file it is much lower in resolution and there is little margin to edit the photo.
The other format is RAW. It retains all the data of the image and makes no attempt to compress it. It loses none of its colours and resolution and remains quite large in size. In fact most RAW photos will be huge (20MB+). The photo once uploaded may not look great. In fact most RAW photos will look a little flat. But its post editing capabilities are extensive, allowing you on most occasions to get the image looking the way you want. That overly glary sky can have its brightness toned down and the blues in it increased. The green grass can be the tone you want it to be. Also if the subject is in the shadow of a tree, you can increase the brightness of the subject. I love wildlife photography but getting the perfect shot is a challenge within itself. Then when you do get the kangaroo it is in the shade of a tree, or a little too far away. That is the main reason why I shoot RAW. It allows me to bring out what I want in the image, be it colours, exposure, contrast, frame shape and size. You name it, you have a greater scope to play with. Once you get the image looking like you want, you can then save it as a jpeg image and share to your hearts content, all the while keeping the original.
In this YouTube video I share some of my original RAW images (as taken), followed by the final edited image. Some are quite noticeable, others are subtle. But it gives you an idea of what they looked like at the start (with no editing done). I do all my processing manually. I could use pre-sets where I click once on a button and it does all the work for me. But I don’t. The only drawback to doing it manually is that it can be quite time consuming. But the end results are very satisfying. I encourage you to do the same if you have a DSLR or Mirrorless Camera or phone that has RAW capabilities. Shoot RAW! Start off with one click pre-set if you want, and then toy with doing some fine tuning, and eventually do it all yourself. It takes time to master, but once you catch on you will find it so satisfying. You will need some kind of photo processing software. These can be a little pricey, but like all software, there are freebies you can download from the internet. I use Adobe Lightroom.
My favourites photos in this 4:15 minute clip are the kangaroo and the wallaby at the 2.00 minute mark. Both these took a while to get looking as good as they are. But I was so very satisfied with the end result. The final image is a photo of my home town, Adelaide. I did not like the original at all. The glare of the sky, and overall contrast is horrible. It was a challenged to edit. In fact I gave up and came back to editing it quite a few times. While the final looks better than the original, I still wish I could get it looking better. But that is the challenge of editing RAW images. Sometimes you win, like with the Roo and Wallaby. Sometimes you go “Ehh!” like my shot of Adelaide. But most times you will get it looking the way you want, and be very satisfied. So if your camera or phone can shoot RAW, give it a go! So turn up the volume. I’ve added a cool sax and piano number to go with the slide show. Enjoy!


Leave a comment